

How to create social templates that look consistent without making every post identical? Start with a few repeatable layouts, define your brand rules, and leave space for content that changes. You do not need to redesign every Instagram graphic, Facebook announcement, or LinkedIn update from scratch.
In this beginner-friendly guide, you’ll build a small social media template system you can reuse for educational posts, product announcements, tips, and promotions. You can follow the process in Canva, Adobe Express, or another design editor that supports editable layouts.
Quick answer: How do you create reusable social media templates?
Choose your recurring post types, define a color and typography system, select a suitable canvas, create one clear layout, replace fixed copy with placeholders, build a few variations, and test each design on a phone before saving it as a reusable master.
The goal is not to produce dozens of nearly identical graphics. It is to remove repeated design decisions while keeping each message useful and specific.
For a small business, the most useful answer to how to create social templates is to start with layouts for real, recurring messages—not a large collection of decorative variations.
What is a social media template?
A social media template is a reusable design structure for content you publish repeatedly. It might contain a headline area, an image frame, a logo position, and a space for a call to action (CTA). When you make a new post, you replace the content while keeping the layout rules.
A template is different from a content calendar. The template controls the appearance of a post; a calendar organizes when and where that post will be published. You can use both together.
For a small business, a helpful starter set usually includes an educational tip, a product highlight, and a simple announcement. Add other formats only when you have a real reason to use them.
The key to how to create social templates that last is to separate permanent brand elements from editable campaign information.
How to Create Social Templates in 7 Steps

1. Choose the type of content you post regularly
Before you open a design tool, list three to five repeatable content jobs. Ask yourself: what does my audience need from each post?
- Educational post: teach one practical idea or process.
- Product feature: show what a product is and who it helps.
- Announcement: communicate a release, update, or event.
- Quote or takeaway: emphasize one short, meaningful message.
- Carousel: break a longer explanation into connected slides.
Choose one goal per template. A post trying to educate, announce a sale, and collect leads at the same time can become difficult to scan.
A content inventory tells you how to create social templates around actual needs rather than trends that may not suit your audience.
2. Define your brand colors, fonts, and spacing

Create a simple visual rulebook. Pick a main background color, an accent color, a readable text color, and a small typography hierarchy. Decide where the logo appears and how much empty space surrounds important elements.
For example, you might use a bold headline style, one body-text style, and a contrasting button or CTA treatment. Consistency comes from these repeatable decisions, not from making every post use the same photograph.
If you work in Canva, its Brand Kits and Brand Templates guidance explains how colors, fonts, and approved assets can support an on-brand workflow. Availability of particular features may depend on your Canva plan.
3. Choose a canvas that matches the destination
Start with the format where the design will appear: a feed image, vertical Story, carousel slide, or another placement. Platform specifications and crop behavior can change, so confirm the currently recommended dimensions in the platform’s publisher or ad tools before exporting.
Keep important text, logos, and faces away from edges that could be cropped or covered by interface elements. If you publish the same message in different placements, create adapted versions rather than assuming that one canvas will fit all of them.
Understanding how to create social templates for different placements also means planning safe margins before you export.
4. Design a layout with a clear visual hierarchy
Put the most important information first. A simple hierarchy might be:
- A short headline describing the main benefit or idea.
- One relevant photograph, illustration, or graphic element.
- A supporting sentence only when needed.
- A visible but restrained CTA, such as “Read the guide” or “Explore the collection.”
Use contrast to make text readable and leave breathing room around your headline. Avoid filling every corner with icons, stickers, or decorative shapes. Adobe Express offers a useful beginner’s guide to social media graphics covering clarity, hierarchy, spacing, and readability.
When planning how to create social templates, test your text hierarchy with a real headline instead of a short placeholder.
5. Replace example text and images with editable placeholders
A reusable template should make the next post easier to produce. Instead of storing a design that says “Summer Sale Starts Today,” use a placeholder such as “[Main announcement]” and add “[Product image]” where the next graphic will go.
Other useful placeholders include [Short headline], [One key benefit], [Supporting visual], and [CTA]. Make it obvious which parts can be changed and which brand elements should remain consistent.
Keep the original as a master. Duplicate it before filling in new content, and name the copy for the campaign or date so you can find it later.
A practical habit when learning how to create social templates is to protect the original master before updating any campaign details.
6. Build a small family of related templates
Create a few variations that share the same brand identity. For example, one template may be text-led, another image-led, and a third may be built for a checklist or carousel.
Use the same palette and typography, but change the arrangement to suit the material. A product photo should not be forced into a quote layout, and a long tutorial should not be squeezed into a single crowded square.
Organize masters with clear names, such as Education / Tip, Product / Highlight, and Announcement / Update. This makes the library useful instead of turning it into a collection of unlabeled files.
7. Test, export, and save your master files
Before publishing, preview the design at the size people will actually see. Check whether the headline is readable on a phone, whether the message makes sense without a long caption, and whether the CTA is visible.
- Check spelling, contrast, margins, and visual alignment.
- Confirm that you have permission to use the photos, graphics, fonts, and other assets.
- Export in a format supported by the destination platform.
- Keep the editable source file for the next campaign.
- Check the published post for unexpected cropping.
Then review the response to your content and refine the layouts that your audience finds most useful. A template system should improve over time.
Three practical social media template examples
Educational tip template
Structure: “How to [achieve a result]” headline → one illustration or step → short takeaway → “Read more” CTA. Use this when explaining a single useful idea.
Product spotlight template
Structure: product name → accurate product image → one verified feature → “View details” CTA. Keep features and licensing claims specific to the actual product.
Announcement template
Structure: update headline → essential details → clear next action. Make the date, eligibility, or conditions easy to understand when they matter.
Once you have a master for each, create example versions with realistic text lengths. A layout that only works with a three-word headline is not very reusable.
How to design social media posts without repeating the same look
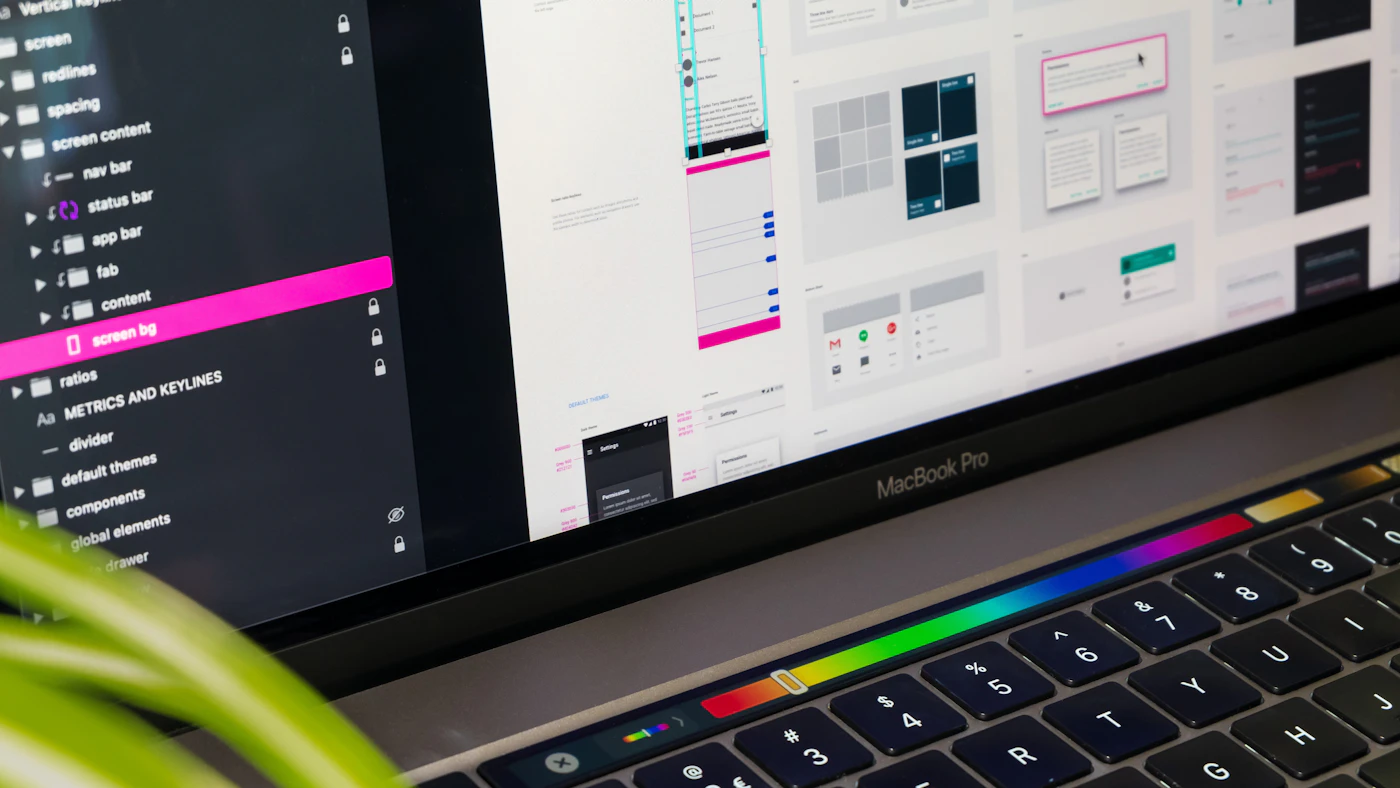
Good social media design balances recognition with variety. Keep the brand system stable but vary visual composition based on the message. An educational carousel can use large step numbers and clean diagrams, while a product highlight can give most of the space to a genuine product visual.
Try writing the headline and deciding the CTA before opening the design. That keeps the template focused on the reader’s goal rather than adding content simply to fill empty space.
If you’re exploring digital resources for creative projects, browse the Digital Assets collection at DigitCrafti. Our Graphic Design and Video Editing Resource Bundle is a downloadable PDF access guide listing creative resource collections, including social media design resources. It is not a promise that every linked file is an editable social template: third-party file availability, software requirements, and usage licenses must be checked separately.
New to downloadable resources? You can also read our beginner’s guide to digital products to understand common formats and delivery methods.
Common mistakes to avoid
- Starting with decoration: define the message before adding shapes or effects.
- Using too many fonts: a small, clear type system is easier to maintain.
- Ignoring mobile previews: large desktop text may look tiny on a phone.
- Publishing one size everywhere: different placements may crop content differently.
- Copying without checking usage rights: a downloadable asset is not automatically licensed for resale, client work, or commercial redistribution.
- Making everything identical: create a small family of layouts rather than one rigid design.
Frequently asked questions
Can I create social media templates for free?
You can start with tools and features available on a free plan, but available assets, advanced brand controls, and export options vary by provider and subscription. Review the tool’s current plan details before relying on a paid feature.
What’s the difference between a template and a finished post?
A template is the reusable structure; the finished post includes the specific text, media, and information for a particular audience and occasion.
Should I use one template for Instagram, Facebook, and LinkedIn?
You can reuse the core branding and message, but adapt the dimensions, reading order, and text density for each destination and placement.
Can I sell or share templates created with third-party assets?
Only when the licenses for the design tool, photos, fonts, graphics, and other included assets allow your intended use and redistribution. Editing an asset does not automatically grant resale rights.
Final checklist: make your next design reusable
Choose a repeatable content goal, set a clear visual hierarchy, keep editable placeholders, test the design at real viewing size, verify any asset licenses, and save a clean master. If you follow these steps, each new post can begin with a strong structure while still delivering a fresh message.
Looking for materials to support your next project? Explore the DigitCrafti shop and review the individual product descriptions for exact contents, file formats, and access details.
Return to this checklist whenever you need to decide how to create social templates for another campaign or content series.


 No products in the cart.